豬的硬體研究
RaspberryPi3
大綱
安裝
下載作業系統,寫到SD卡上
下載網址:https://sourceforge.net/projects/win32diskimager/
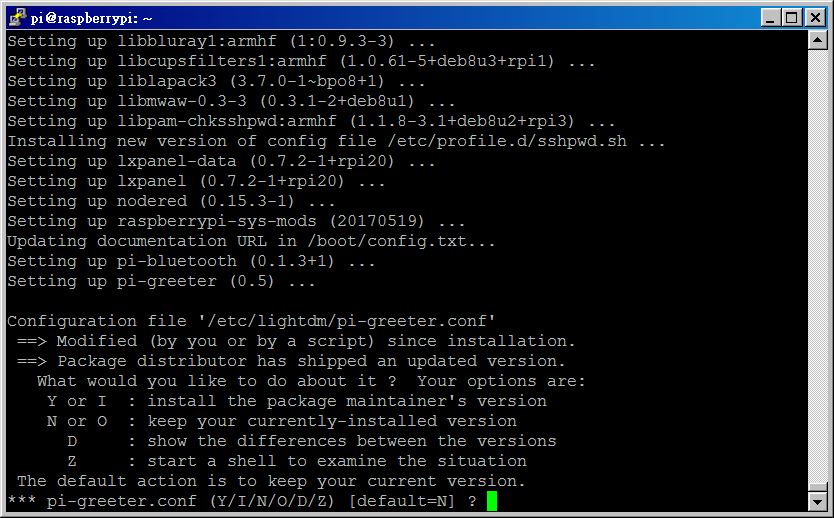
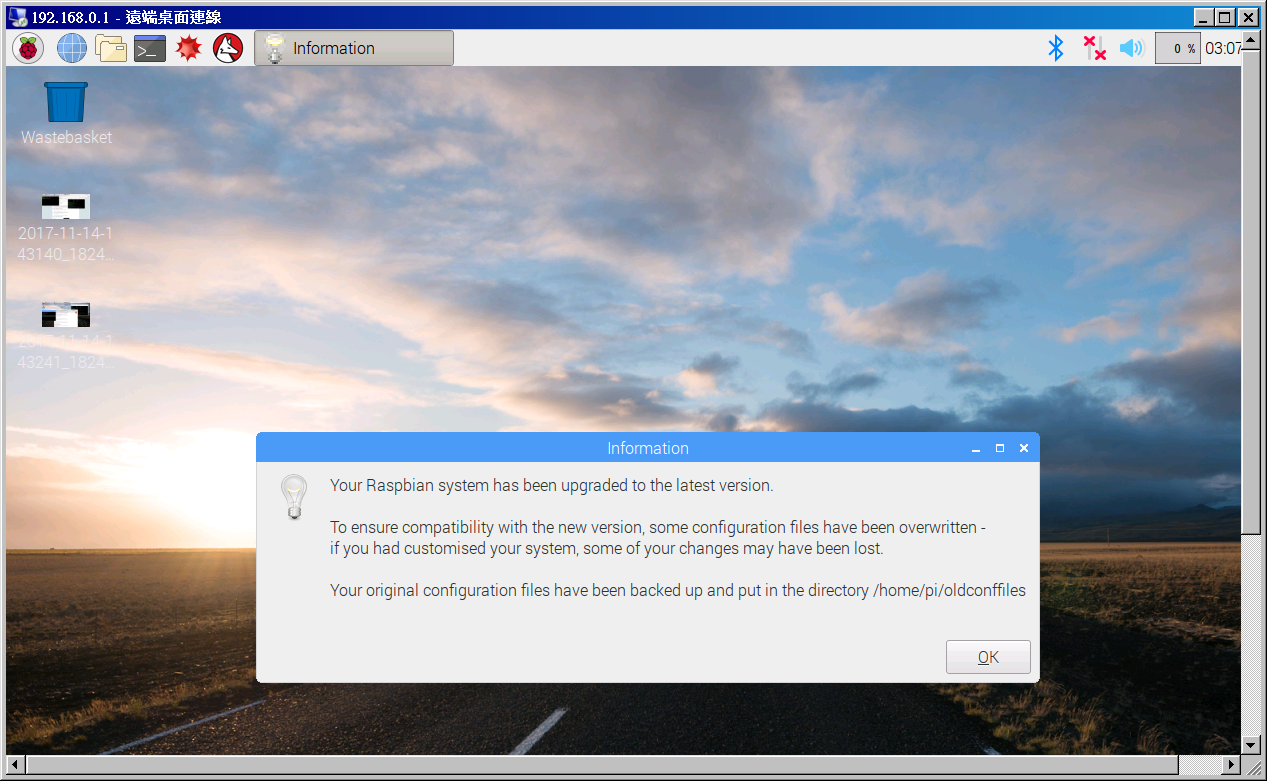
更新到最新版系統
下載網址:https://www.raspberrypi.org/documentation/configuration/wireless/access-point.md
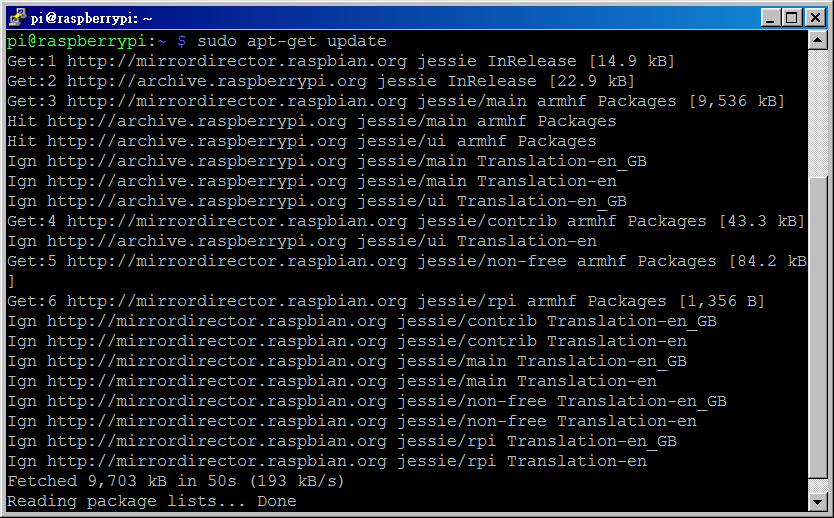
sudo apt-get update
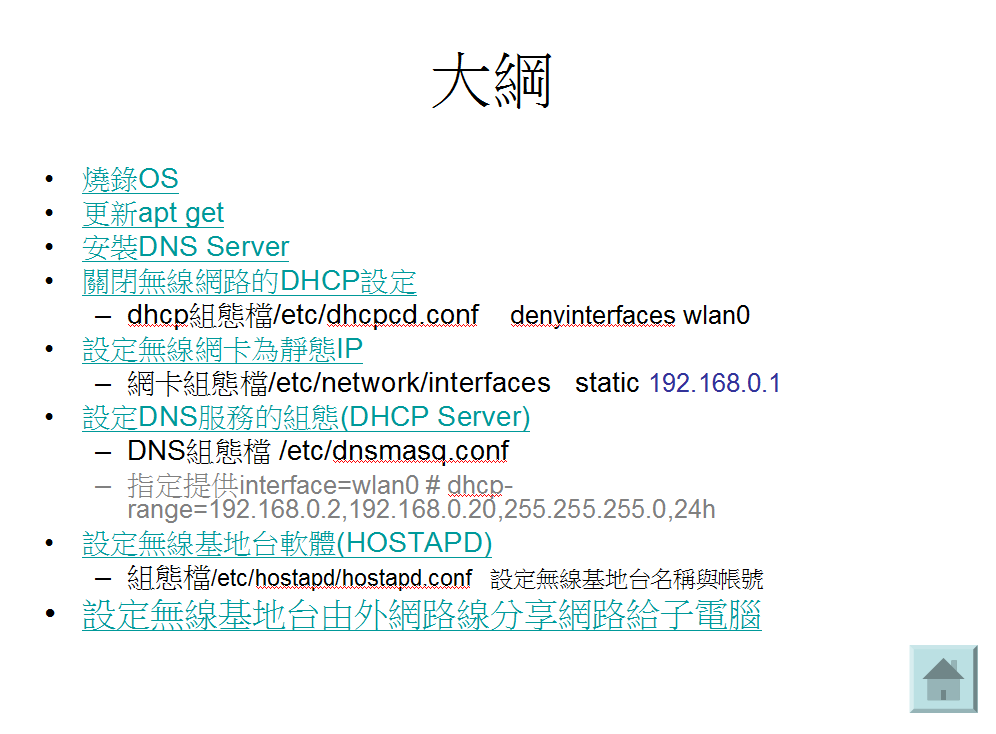
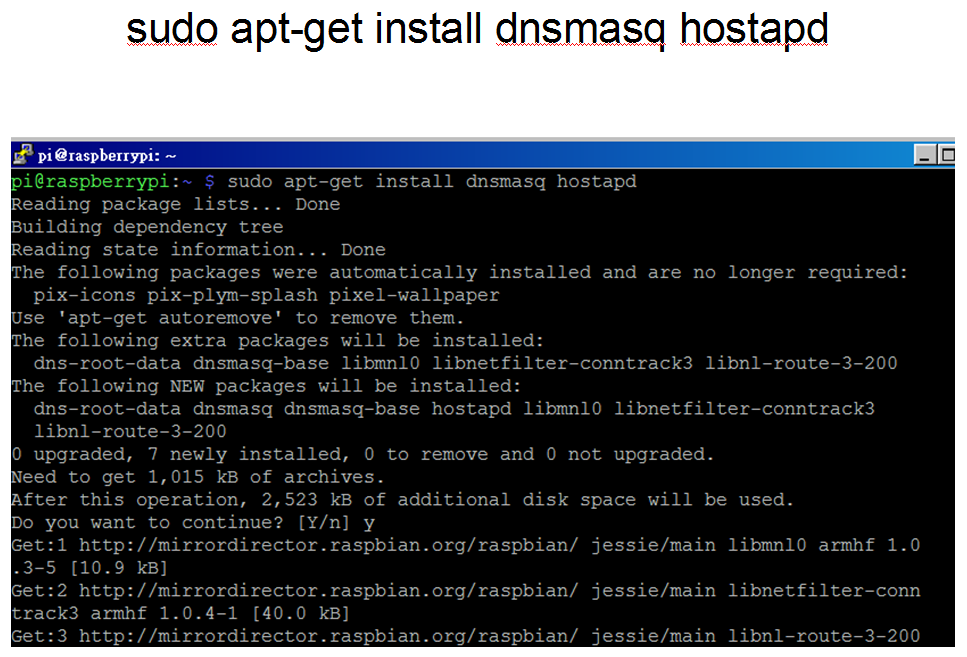
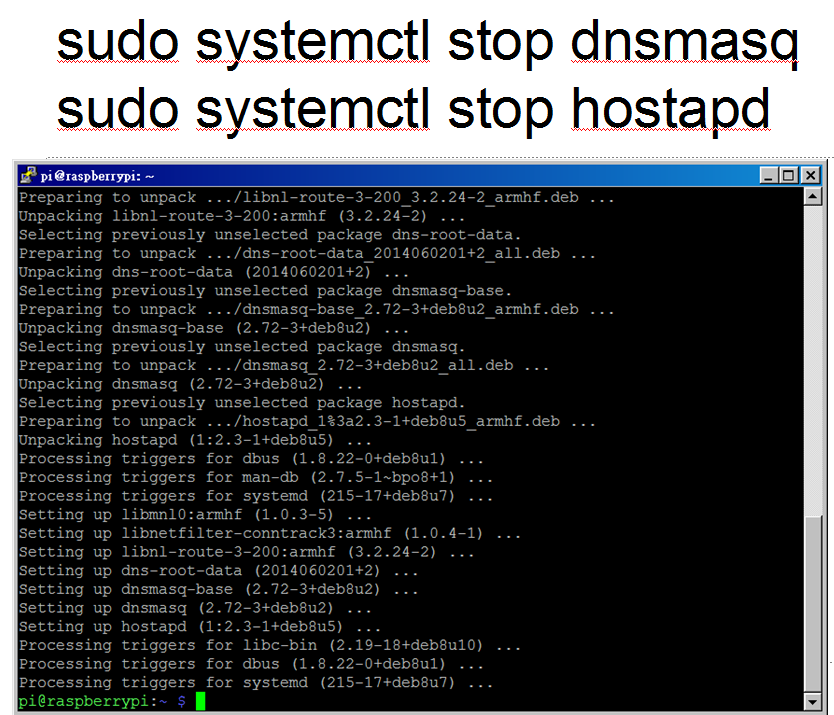
安裝DNS Server

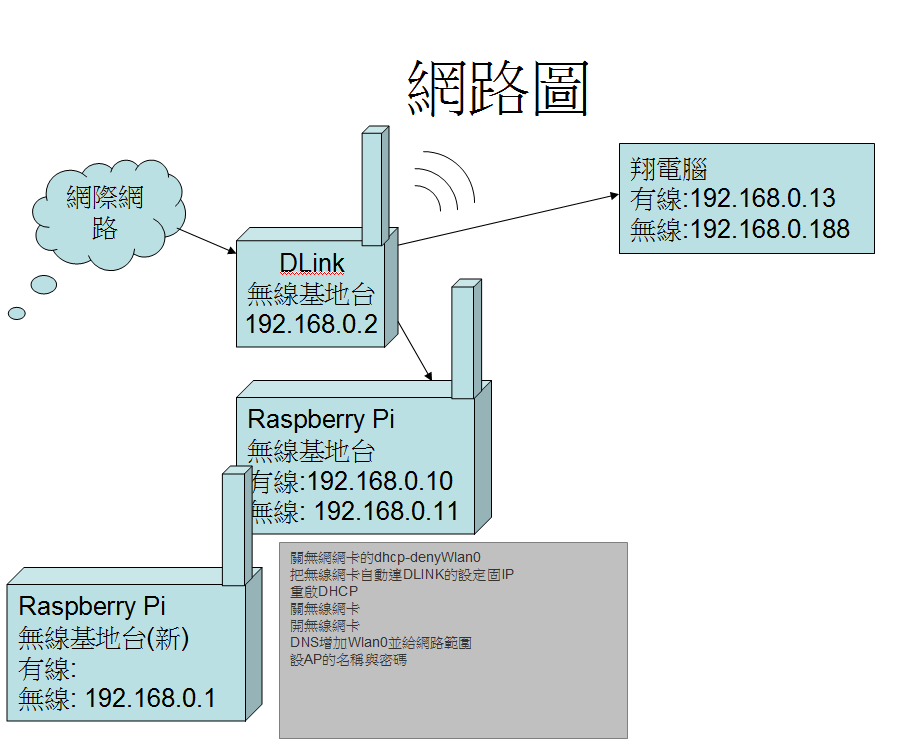
關閉無線網路的DHCP設定
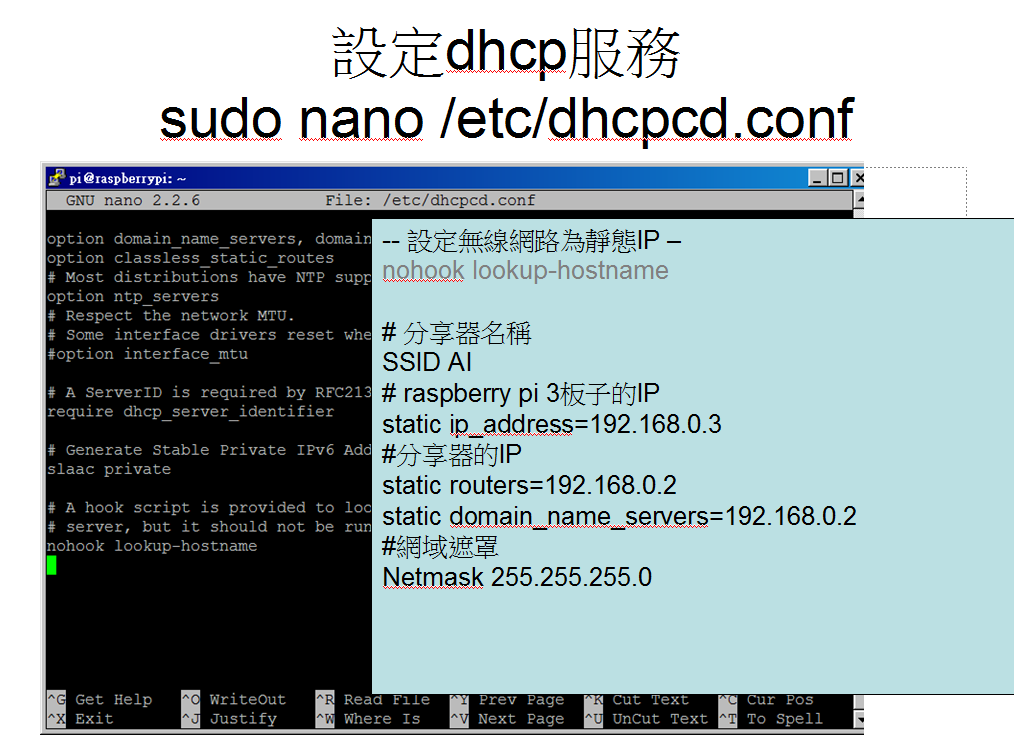
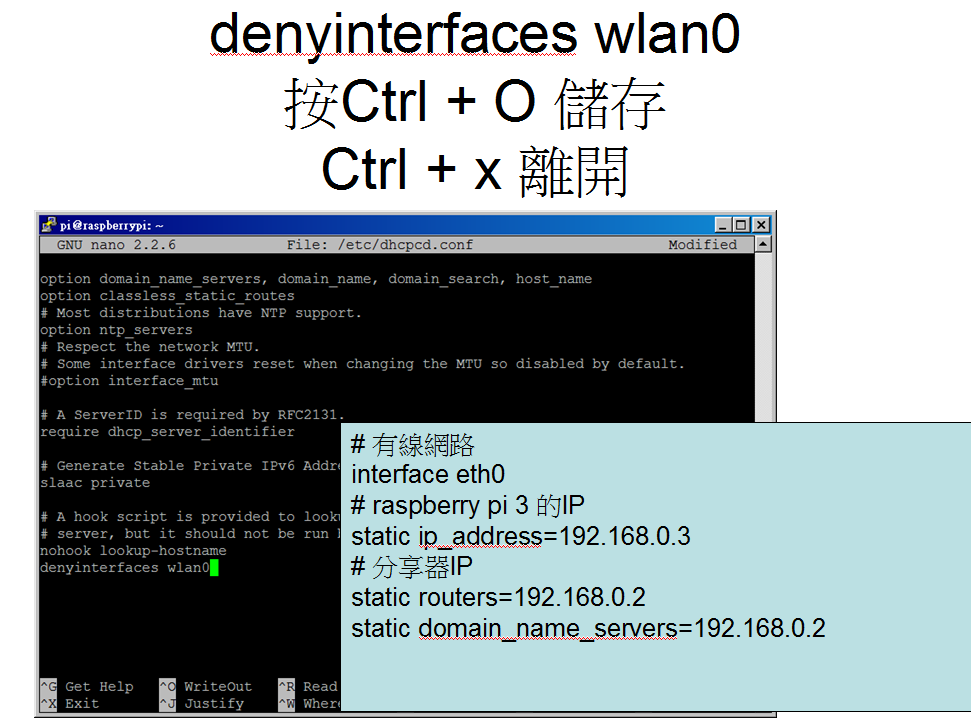
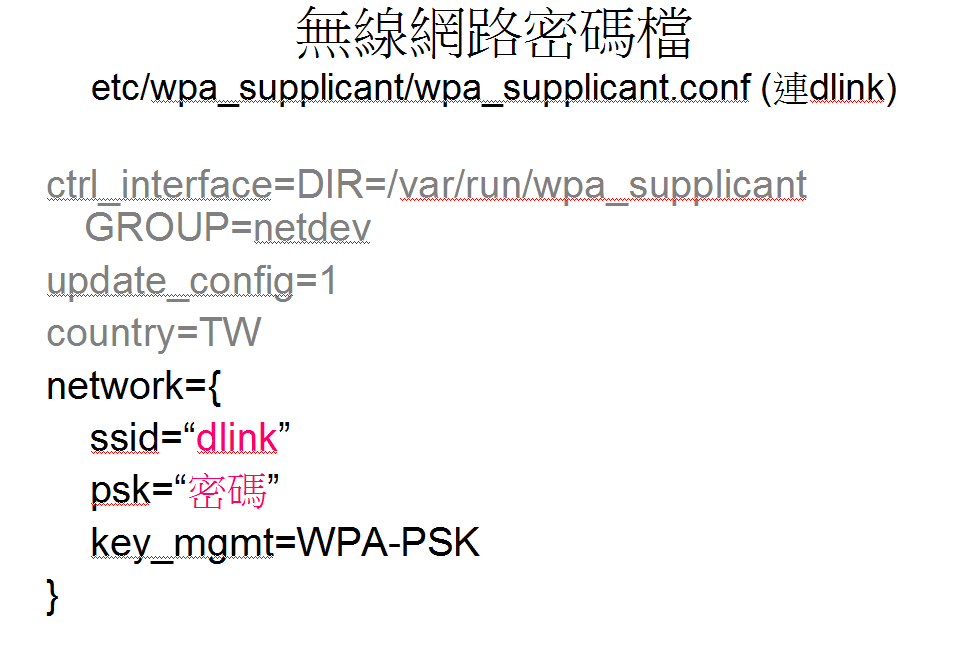
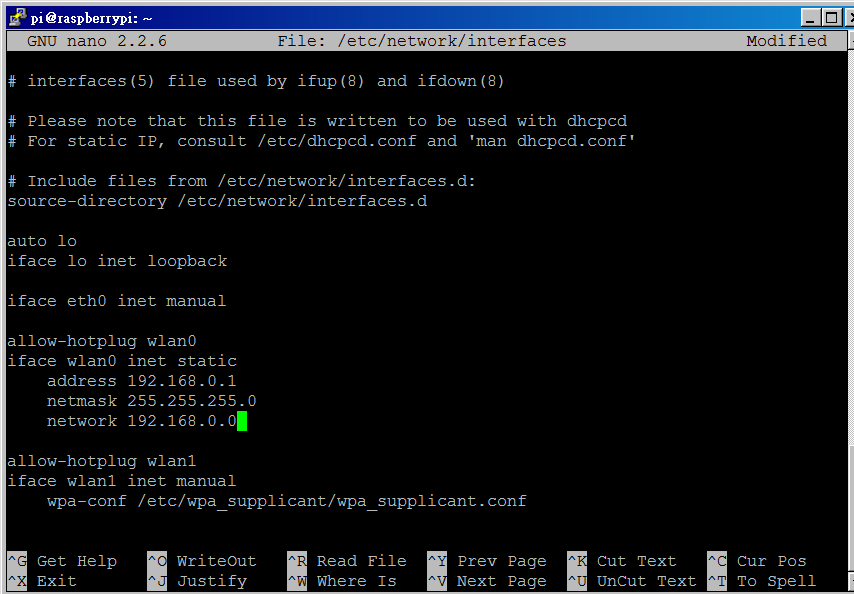
設定無線網卡為靜態IP
sudo service dhcpcd restart
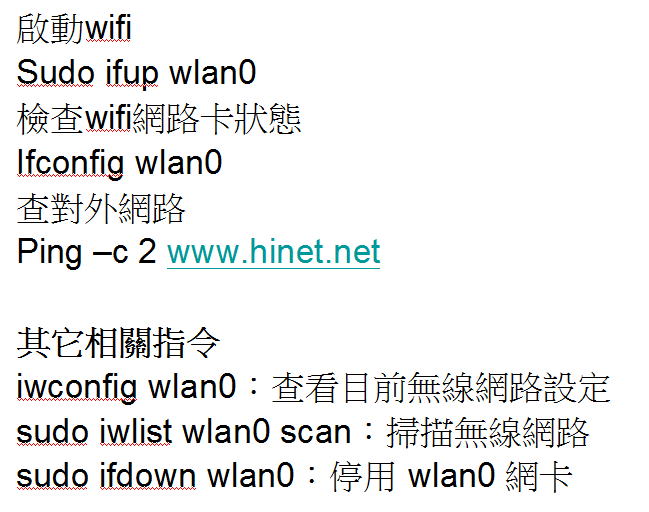
sudo ifdown wlan0 (若是無線連的話,要晚點再執行這行)
sudo ifup wlan0
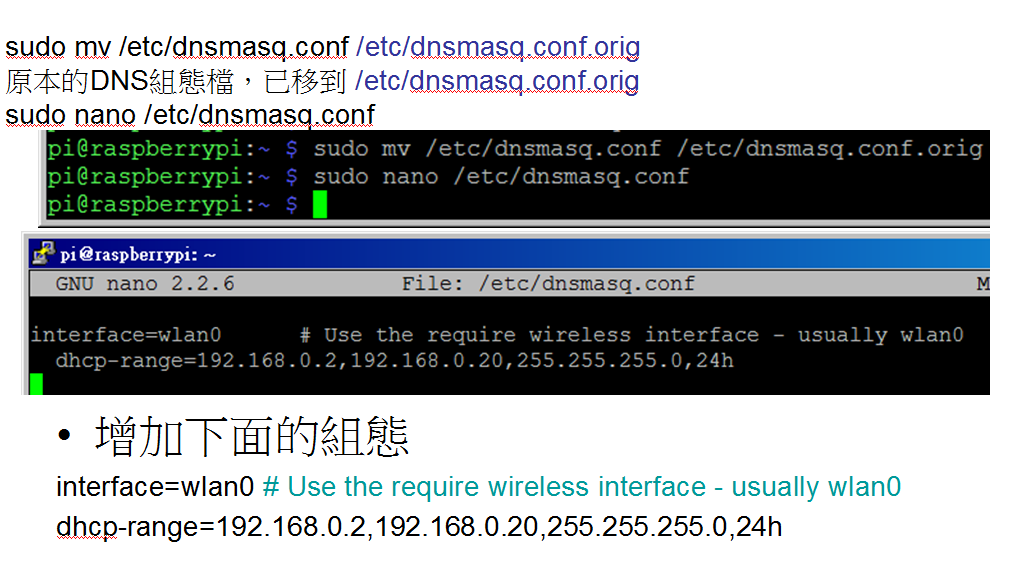
設定 DNS服務的組態(DHCP Server)
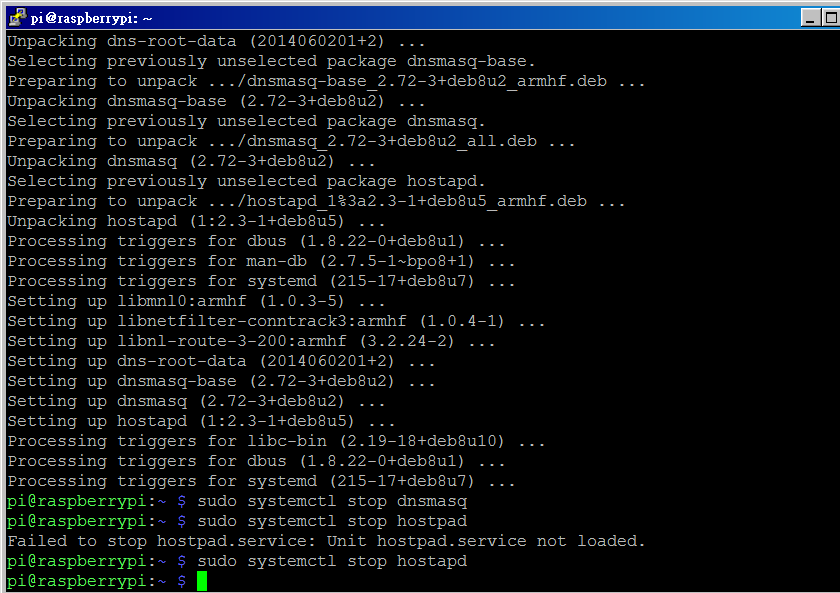
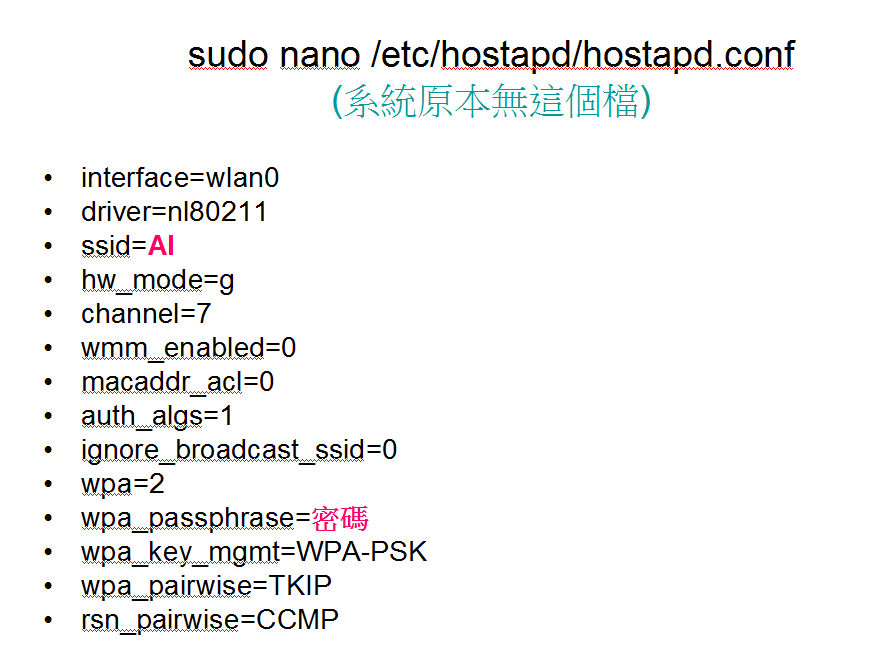
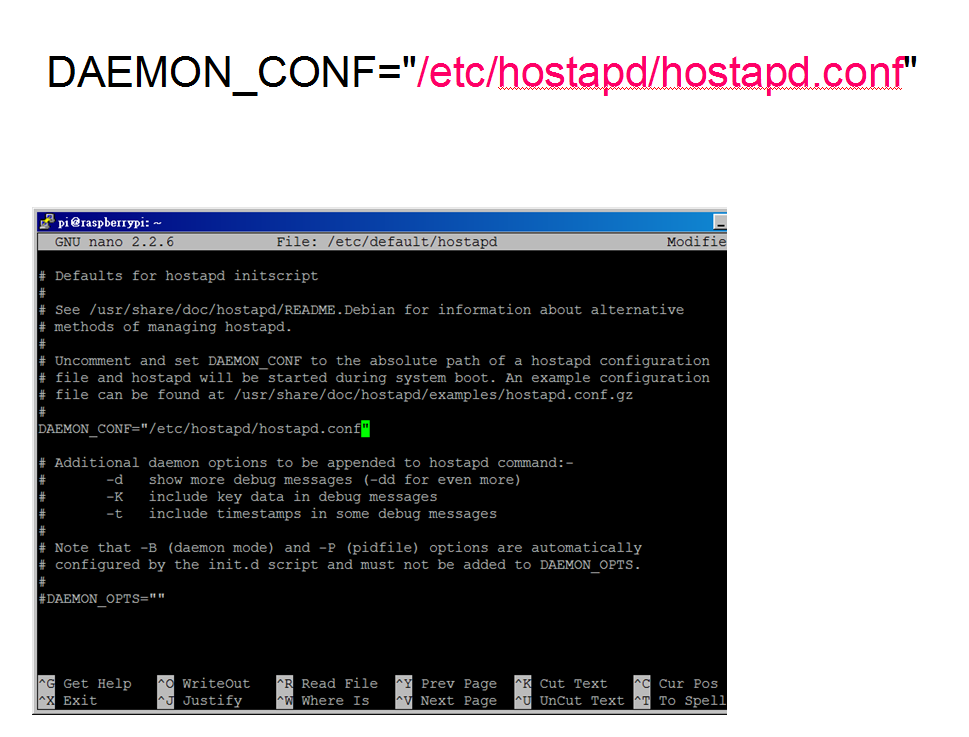
設定無線基地台軟體(HOSTAPD)
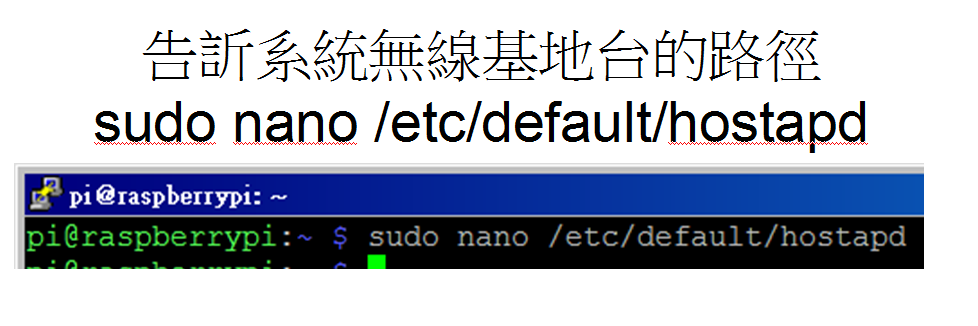
/etc/default/hostapd 指定 /etc/hostapd/hostapd.conf 為無線基地台的組態設定
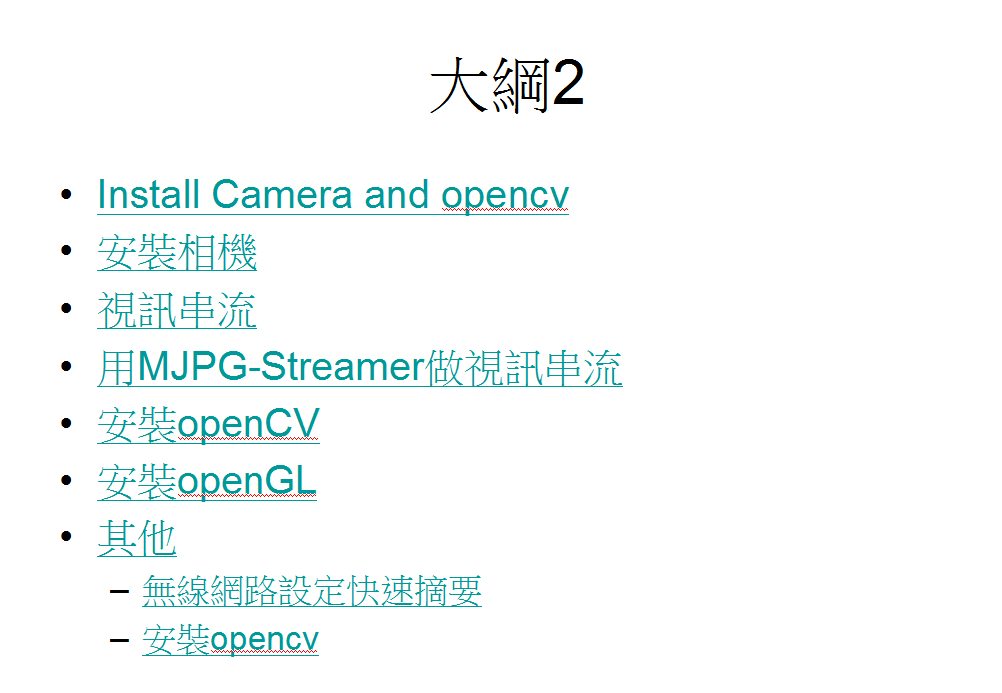
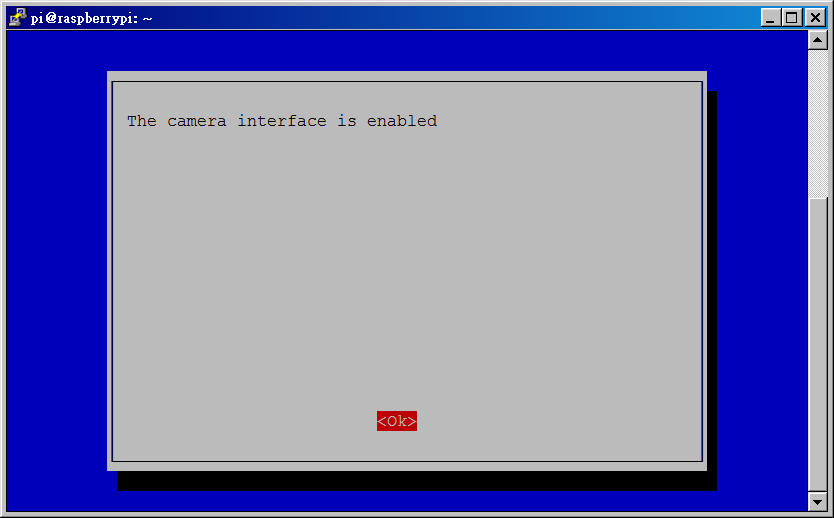
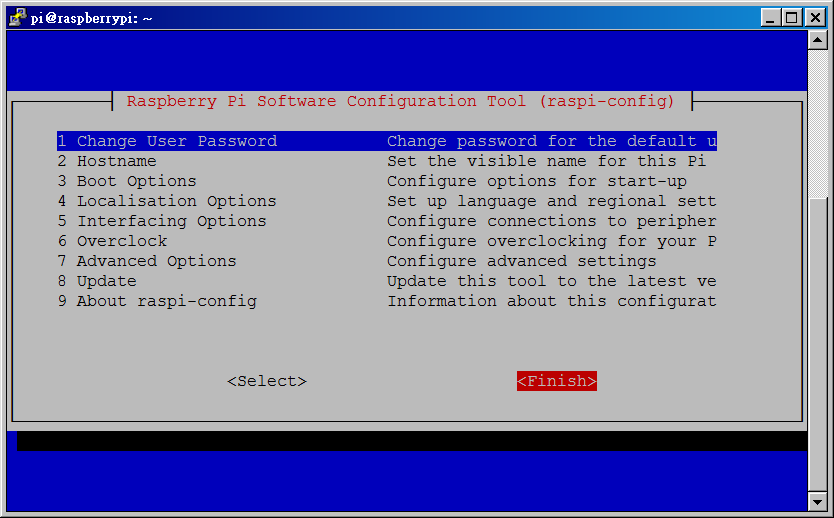
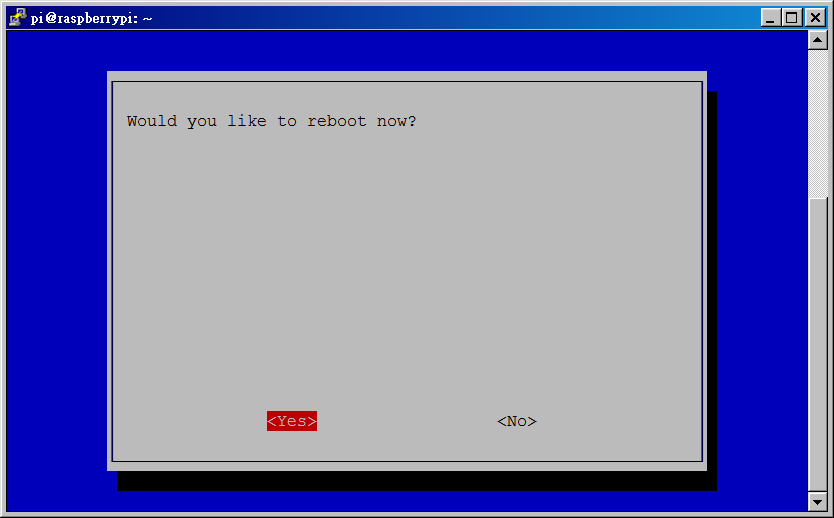
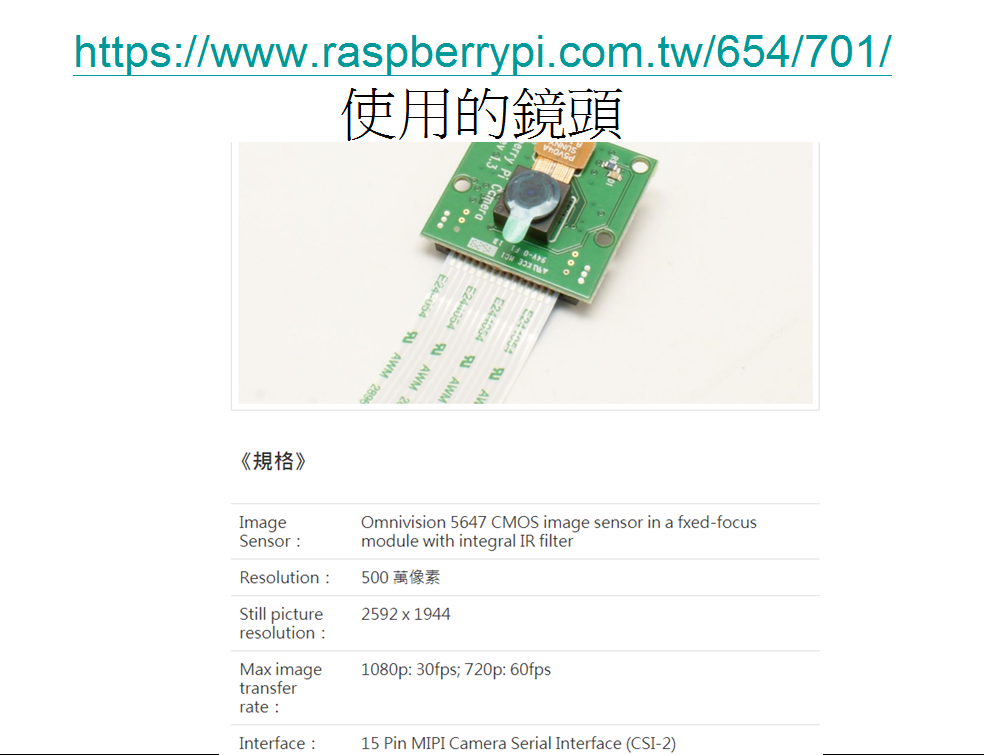
安裝相機
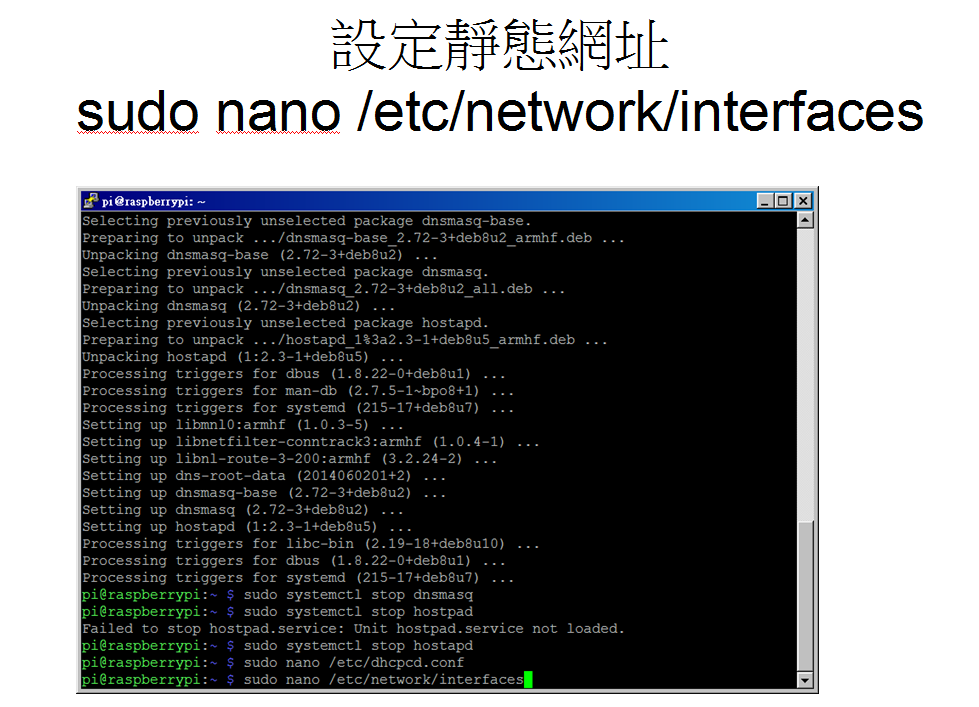
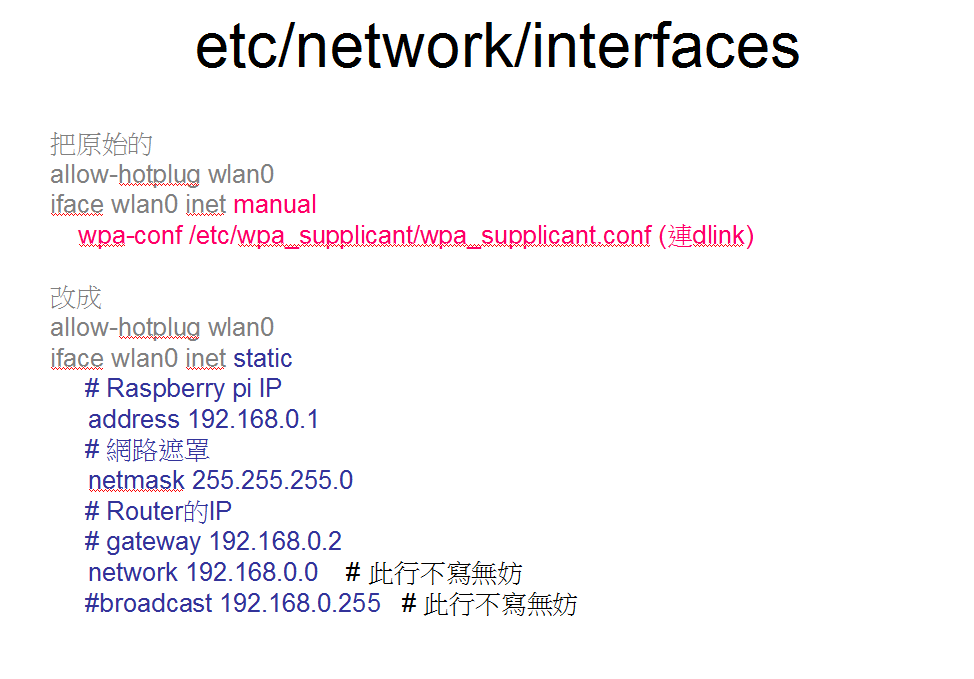
sudo nano /etc/network/interfaces

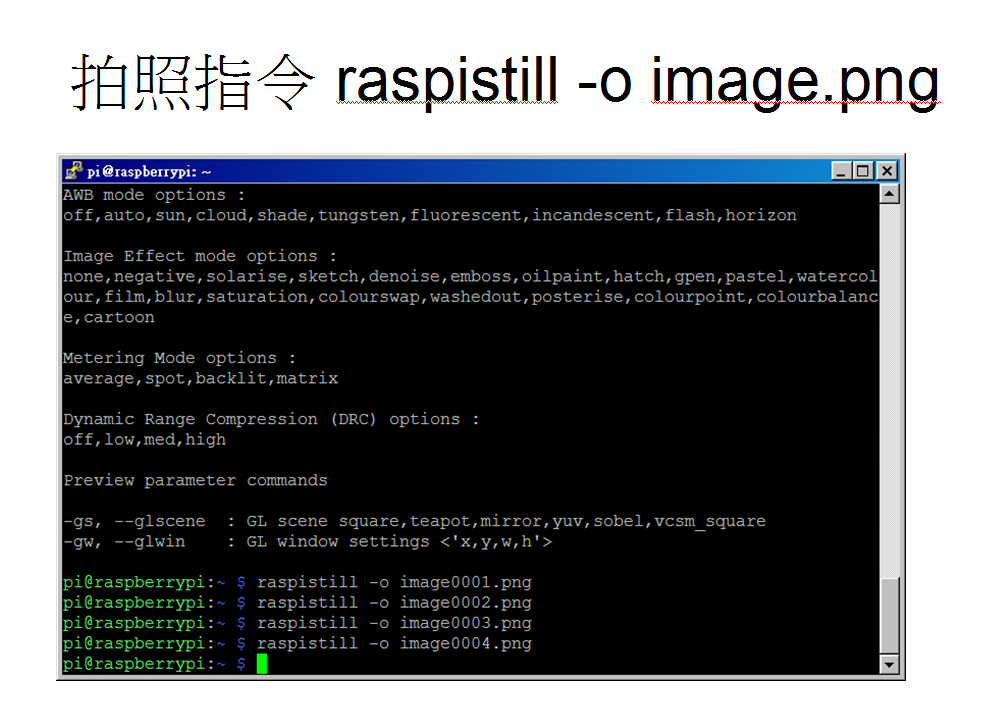
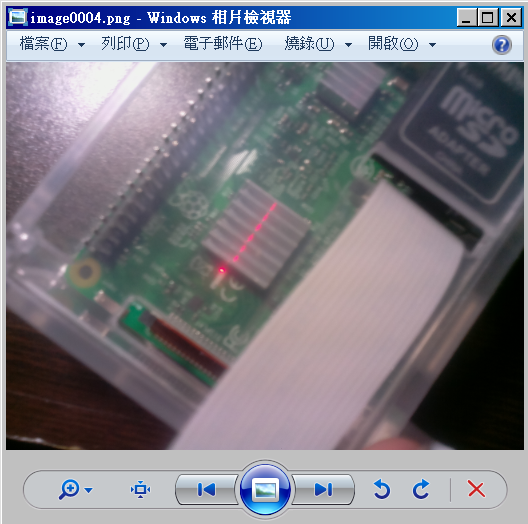
# Capture 30 seconds of raw video at 640x480 and 150kB/s bit rate into a pivideo.h264 file:
raspivid -t 30000 -w 640 -h 480 -fps 25 -b 1200000 -p 0,0,640,480 -o pivideo.h264
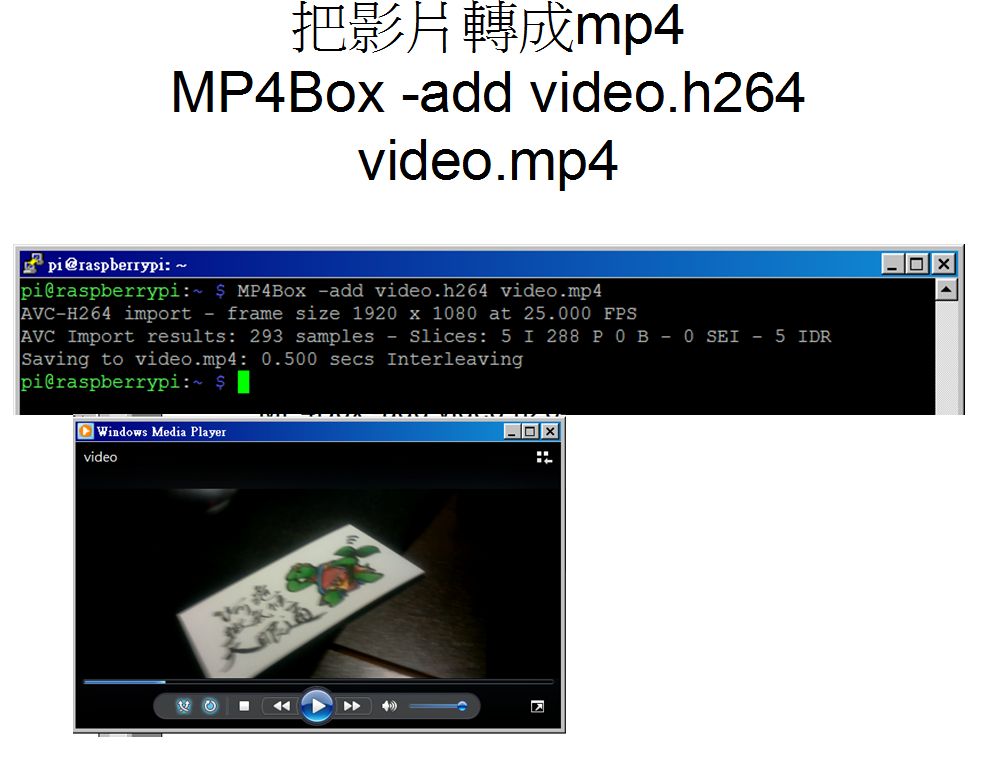
# Wrap the raw video with an MP4 container:
MP4Box -add pivideo.h264 pivideo.mp4 # Remove the source raw file, leaving the remaining pivideo.mp4 file to play rm pivideo.h264
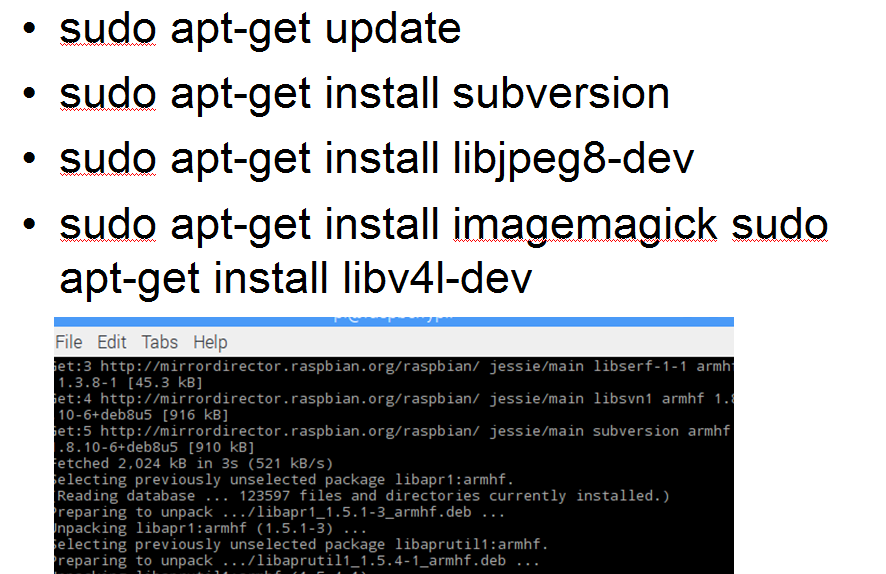
安裝Camera and opencv
sudo apt-get install -y festival python-dev python-opencv python-pip x11vnc liblivemedia-dev libv4l-dev cmake python-matplotlib vlc
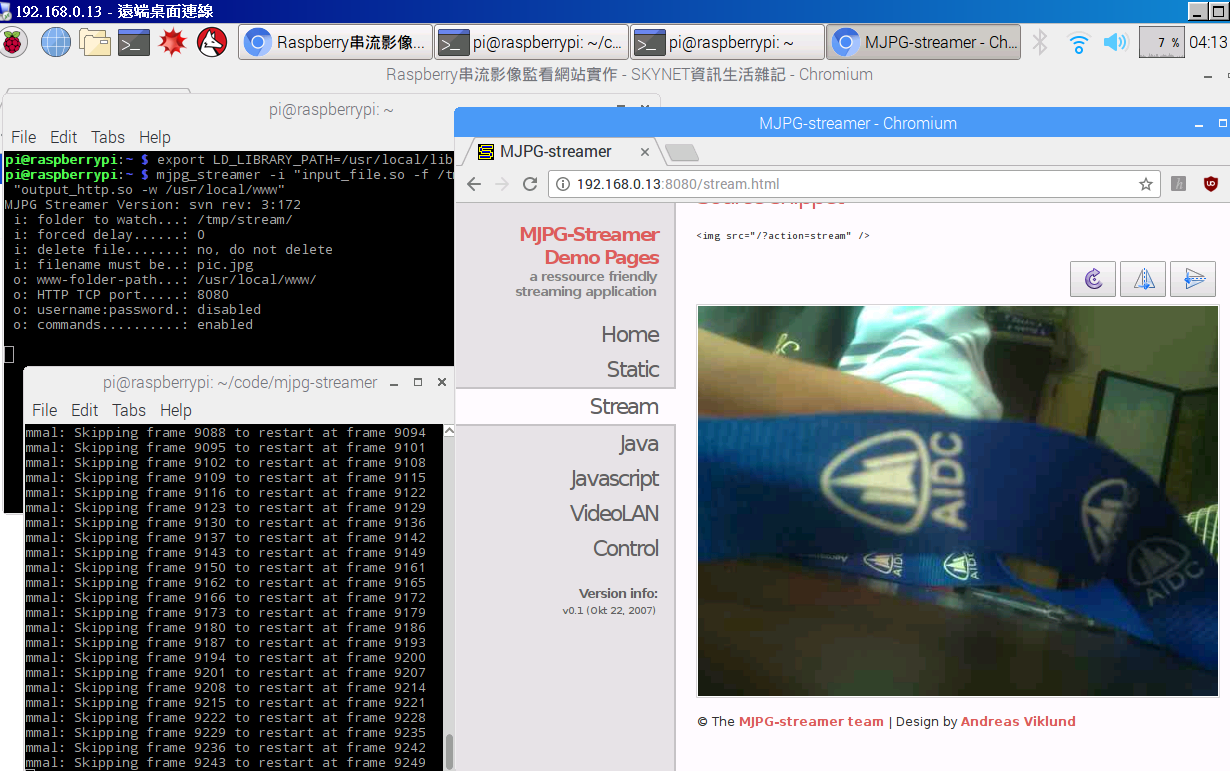
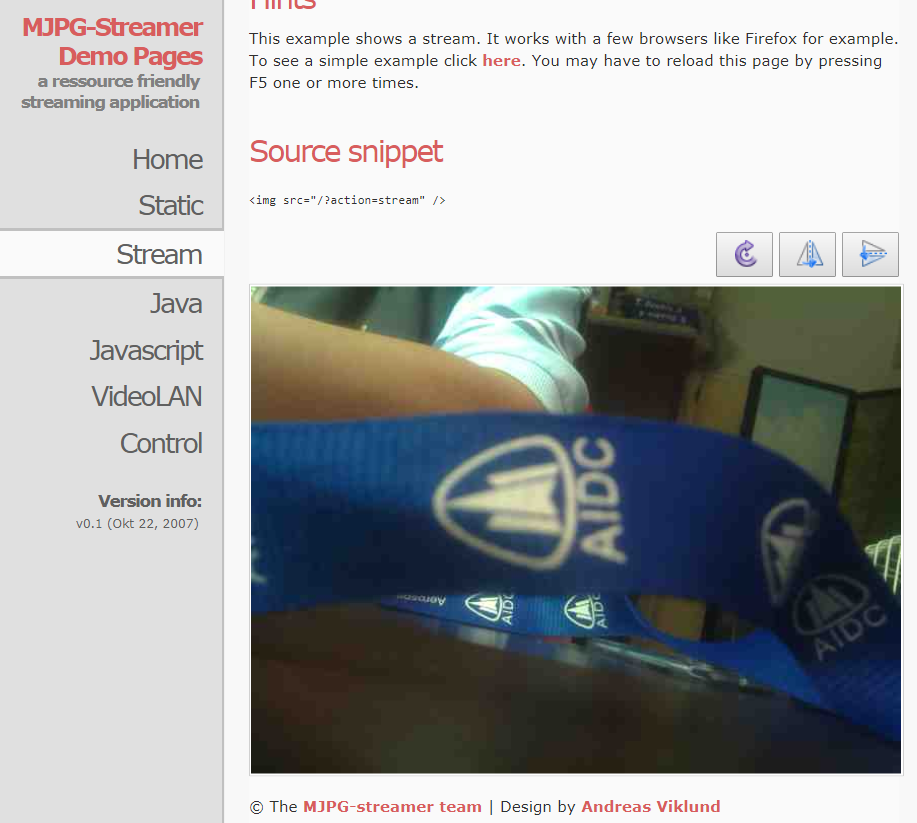
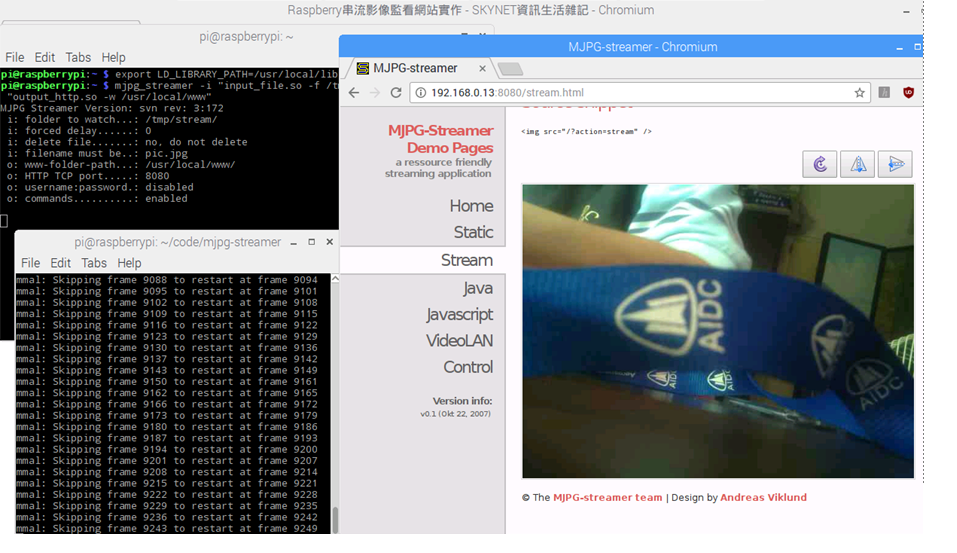
視訊串流
sudo apt-get update
sudo apt-get install vlc
raspivid -o - -t 0 -hf -w 800 -h 400 -fps 24 |cvlc -vvv stream:///dev/stdin --sout '#standard{access=http,mux=ts,dst:8160}' :demux=h264
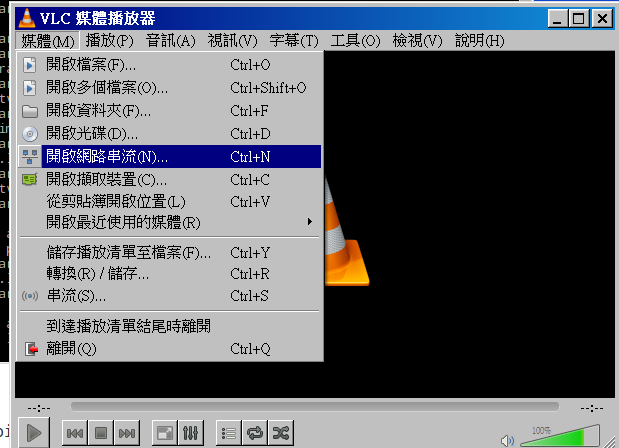
在windows裝vlc media player
讀取http://機器ip:8160/
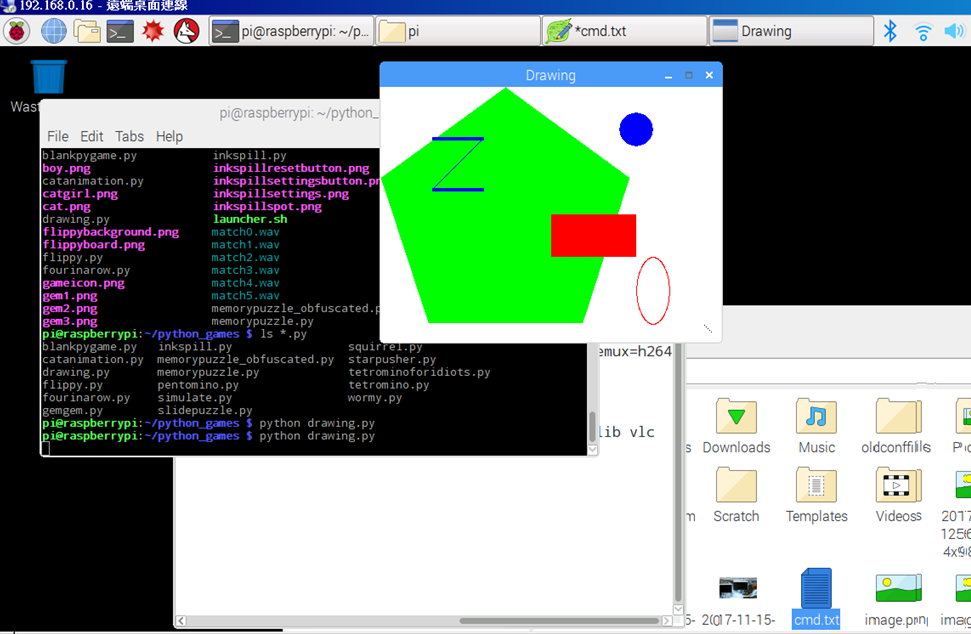
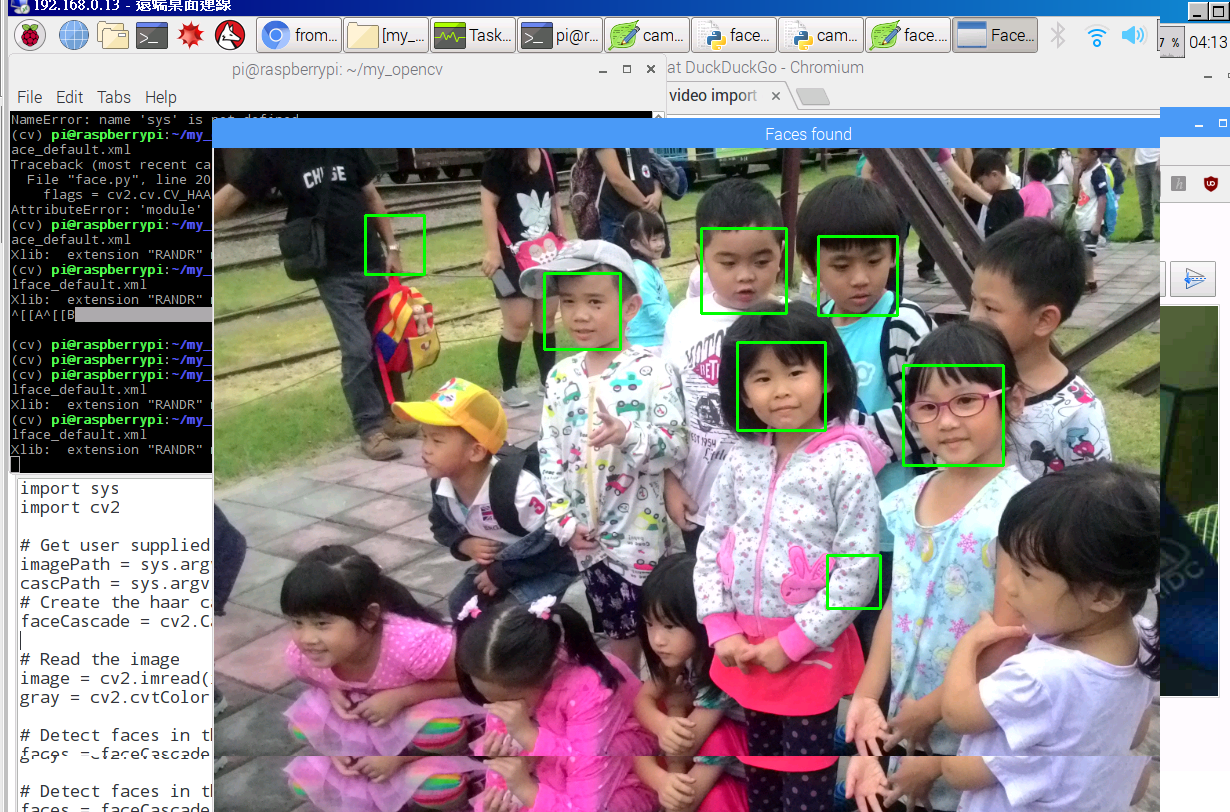
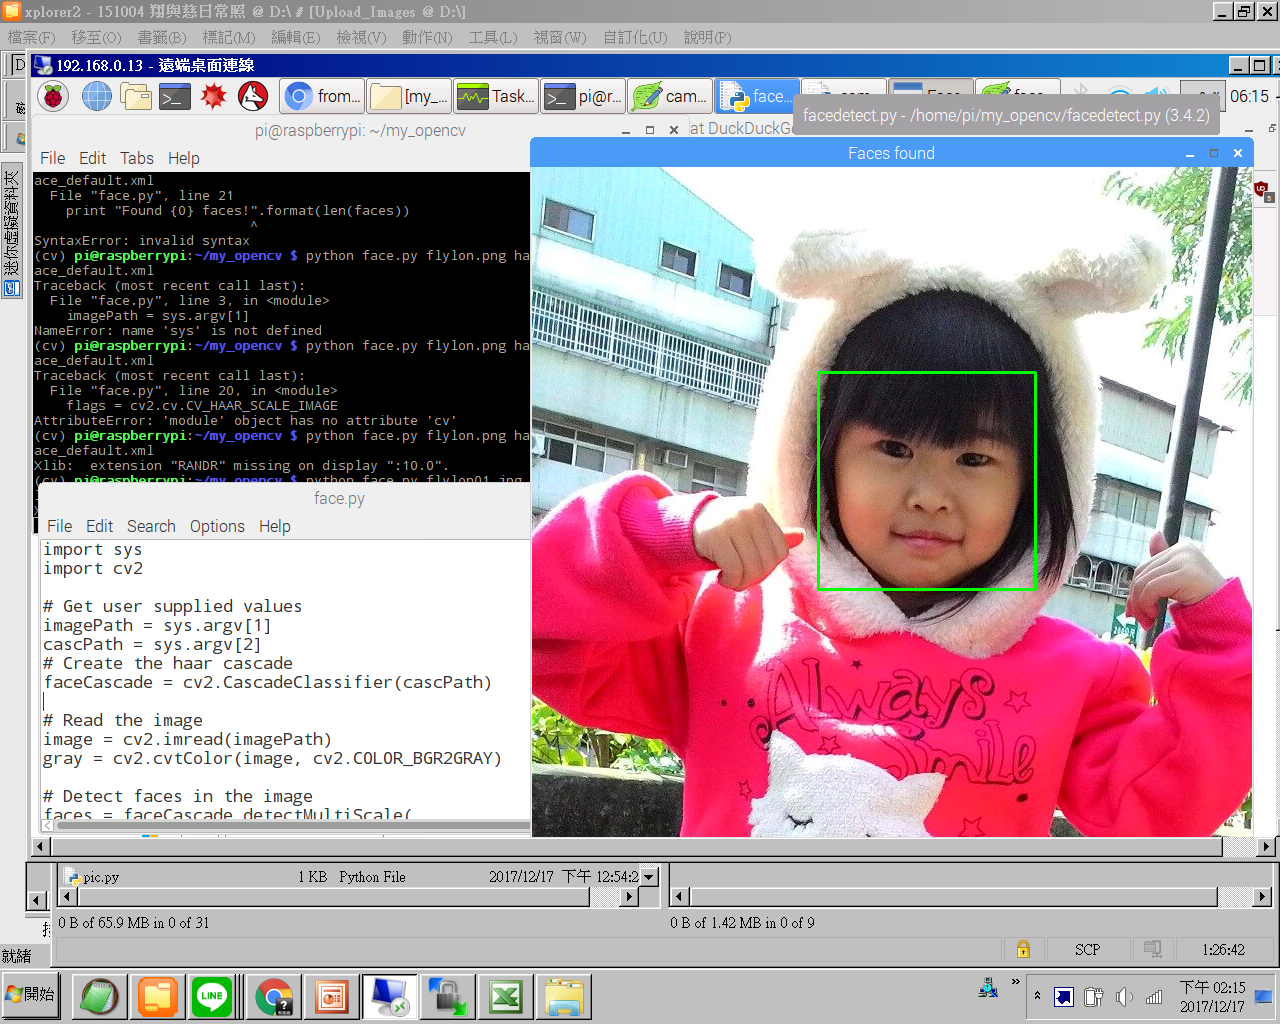
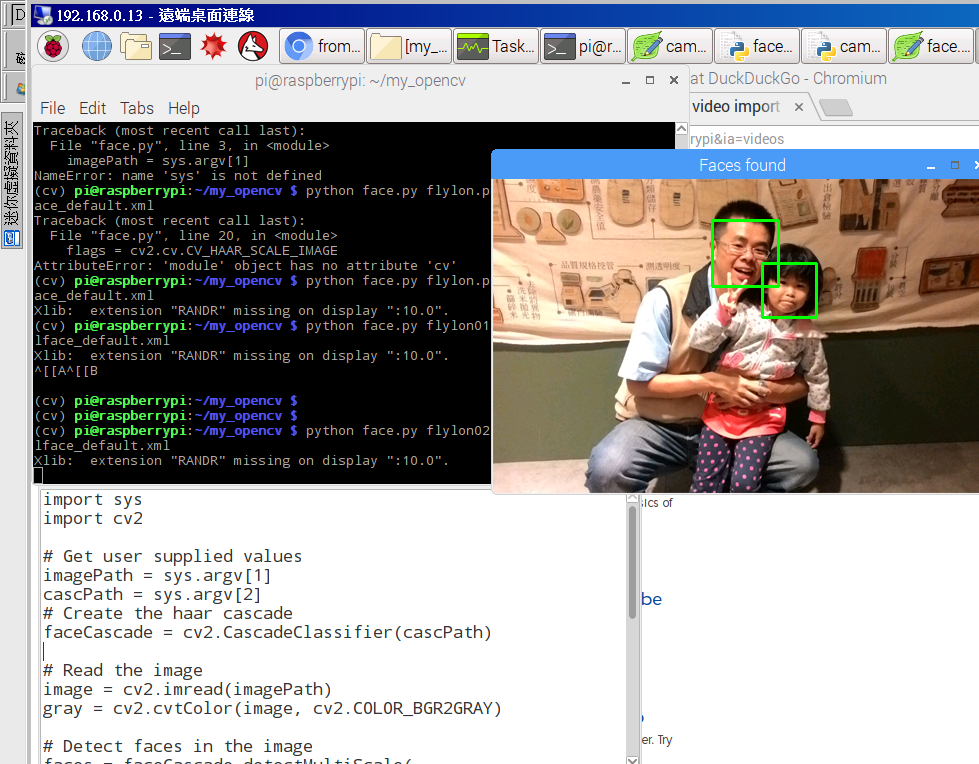
影像辯識-opencv
人臉辯識